Cutting process of Lab-Created Diamonds
The Cutting Process Captured in the Video
1. Sorting
Before the cutting process begins, rough diamond is being analyzed to be sorted into different categories. This will make the whole process more cost-efficient (different companies specialize in cutting different sizes/types of rough diamonds).
When choosing a category, planning teams look for model, fluorescence, color, clarity, and size. They also might polish a small window on the surface of any particular rough diamond to make a more precise and accurate decision.
2. Planning
The next step of the diamond cutting process is planning. Planning is done in order to decide how to cut a diamond in a way that retains the most weight and maximises the final yield* (and therefore value).
*Yield is calculated by taking the total polished carat weight and dividing it by the original rough carat weight x 100. For example, if the original rough stone is 1.00ct and the polished is 0.39ct the yield would be calculated as (0.39/1.00) x 100 = 39%
The most critical factor in planning is the final carat weight outcome as this will have the most impact on polished diamond price. Planners use sophisticated technology, skills and intuition in order to achieve the best possible yield.
3. Marking
Once the plan has been established, the stone needs to be marked by pen to show the cleaver/sawyer where the cut should be made. The decision on whether to saw or cleave the diamond is made during this stage as well.
4. Cleaving
Almost all rough diamonds need to be divided into more than one part to get the best overall yield. One of the most widely used techniques is called cleaving and it’s usually performed on rough diamonds with cracks and fractures (so that they could be eliminated).
Cleaving is the process of dividing the stone into two or more parts by hitting it with a sharp blade. It’s done between the layers along the lines of diamond growth (also known as the “cleavage plane”).
It should be noted that the blade is placed into a notch/groove, which is made beforehand by another process called kerfing (by laser or another diamond).
Cleavers need extensive knowledge of the structure and qualities of rough diamonds. Their skills enable them to maximize the yield of every diamond, especially those with a complex structure.
Another process used to divide rough diamonds into different parts is called sawing, whereby the stone is literally sawn by a metal blade/laser.
Cleaving is preferable to sawing wherever possible, since it involves less wastage.
5. Sawing
Sawing is usually done by metal blades or by laser.
Blade sawing can be performed in any direction besides “cleavage planes”. It takes place along the lines marked by planners beforehand.
The sawing machine consists of a weighted arm mounted on the back of a special metal frame.
The rough diamond is usually placed in a wax or cement mold to hold it in place and attached to the arm above the metal blade that has a counter weight at the back (which helps to control the lowering of the stone onto the sawing blade).Sawyers usually operate several machines at once, they’re in charge of changing pressure of the weight and applying sawing powder to the blades.
Laser sawing reduces the risk of potential cracks and allows for more flexibility as the sawyer is no longer limited by cleavage planes (because the laser simply burns through the diamond structure).
Approximate metal blade sawing speed is 0.7-1ct. of diamond per hour, whereas it’s 1.2-1.4ct per hour in laser sawing. Trying to saw a diamond too fast can overheat it and lead to a potential crack/fracture in metal blade sawing (which is impossible in laser sawing because it’s water-cooled at the same time).
Diamonds lose approximately 2% of their total weight when they’re sawn by metal blades and hardly lose any weight when they’re laser-sawn by a professional.
6. Bruting
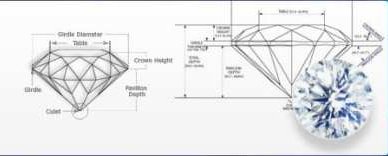
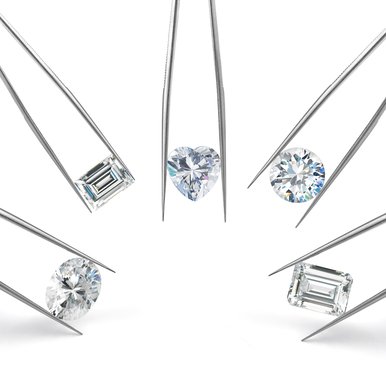
Bruting is the process of shaping the diamond. It works by cutting one diamond against the other diamond. It’s exactly at this stage when a diamond receives its shape (Round or Oval) and form (crown, girdle and pavilion).
Bruting was by performed manually up until the beginning of 20th century when power driven
wheel bruting machines replaced the old manual machines. This finally allowed diamond cutters to create truly round diamonds. The machine could be moved off centre, allowing for more evenly rounded fancy shapes.
7. Blocking
Blocking is the process of polishing sixteen main facets of the diamond on the polishing wheel (scaife). The wheel is usually prepared by applying lubricants (olive oil/graphite) and diamond powder.
Blocking the pavilion section forms the culet, since eight lower facets polished at the same angle come together to form a point.
Blocking the crown section forms the table, since eight upper facets polished at the same angle form the table.
8. Brillianteering
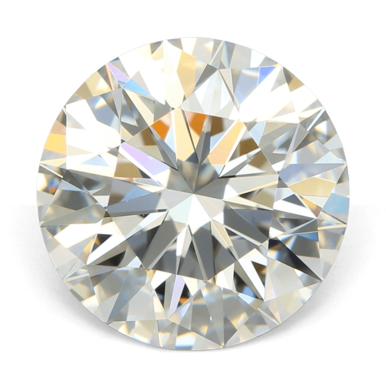
Brillianteering is the final stage in transforming the rough diamond into the polished one.
Polishers make the pavilion by polishing 8 pavilion facets and 16 lower girdle facets. They will finish with making the crown by polishing 8 bezel facets, 8 star facets and 16 upper girdle facets that will eventually form the table (also a facet).
9. Final Quality Check and any Re-Polishing
The final stage of diamond cutting is the quality control check. The team of gemologists will check the weight of the finished diamond and see if it aligns with the estimated yield. They will also check the symmetry/proportions/polish and see if the diamond needs re-cutting or re-polishing to fit into the required category.
10. Grading
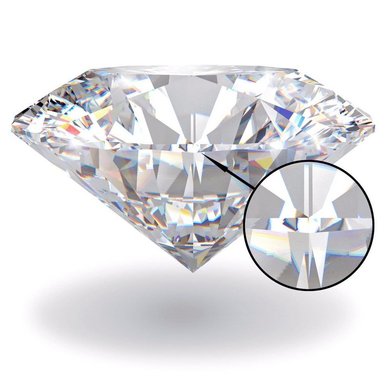
The diamond is ready for grading and trading once it’s been released from the quality control department. It will go to one of the grading and certification labs such as GIA or IGI to receive the report and be laser-inscribed with the unique number on the girdle.


